Do you have old photo albums collecting dust in the attic? Are your parents planning on passing down their treasured family photos to you? Give these cherished mementos new life with this essential guide on how to copy old photos.

4 Reasons to Make Digital Copies of Photos
Digitizing photos allows you to:
- Enhance them to the highest quality. 21st-century editing tools on your computer and your smartphone are widely available for everyday use. Remove red-eye, correct blemishes, adjust lighting, color saturation, and white balance, even crop out photobombers or non-relevant people, it’s easier than ever before.
- Save them in perpetuity without risk of damage. Making digital copies of your photos effectively creates backups you can print in the future should anything happen to the originals, i.e., water damage, tears, light damage, discoloration, etc. Save them to the cloud, and you will also be able to access them from anywhere on your smart devices.
- Increase the available space in your home. When you turn your old photos into digital files, you can simultaneously eliminate some of the clutter associated with piles and boxes of photo albums. Less stuff and more space = getting organized.
- Share them with family and friends. Sharing an old picture is now a matter of a few clicks once you digitize it. Email it, share on social media, message it over your mobile device, even save the image on a USB device, or have it printed and custom framed to gift to your family and friends.
Scanning Old Photos
To start, put your camera away. While “taking a picture” of an old picture seems like the easiest way to make digital photo copies, what you’ll find is that old photos can be troublesome. They rarely lie flat enough for you to properly photograph them (from years of sitting in a pile or bending to the slight curve of a photo album page). Plus, you often end up with glare on the final product from your background lighting or camera flash.
The best way to make photo copies of old printed images and artwork is by scanning them, and luckily, there are several options available today for photo scanning.
- Scan at home with an app on your smartphone. The difference between scanning an old photo with your smartphone and taking a picture of it is subtle but significant. Apps like Google PhotoScan (free, iOS & Android) and Photomyne (free, iOS & Android) actually snap several pictures of your original photo from different angles and then stitch them together into a final enhanced version with corrected perspective, crisp edges, optimized coloring, and no glare.
- Scan at home with a flatbed or photo scanner. Have a physical scanner at home or at work that you can use? It may take some time, but scanning each photo yourself so you can crop/enhance it on your computer and then sort and save it accordingly can be a fun way to spend an afternoon.
- Send to a scanning service. Mail away photo scanning services do exist, and if you are comfortable with sending off your treasured memories and paying a fee to have them scanned, organized, and returned on a USB drive or CD, this could be your go-to option. Sample scanning providers include LegacyBox and ScanCafe.
- Take to a photo department at a retail store. Popular retail merchants like Walgreens, Staples, and Costco offer photo scanning services on-site that allow people to safely scan photos and then save them to a CD or reprint them. Note, however, the fees can vary drastically, and sometimes there is a limit to how many photos you can scan in one session.

How to Scan a Photo | Pro Tips
Don’t miss these experts tips for scanning old photos:
- Take care when removing old photos from albums to scan them, especially if they have lived on a sticky photo album page for years. Adhesives in old photo albums can degrade over time and leak acid into your photos, changing their color and making them more brittle and delicate.
Wear latex or cotton gloves to prevent the transfer of oils from your fingers to your photographs, and use a very thin, flat instrument to gently pry up the photograph from the page without bending it. *Note: Running a piece of floss under your photograph can also help release it from the adhesive.
- Carefully wipe off your old photograph with a dry lint-free cloth, like an eyeglass cloth, to remove dust particles. Do the same with the scanner (if using a flatbed scanner); you can use liquid glass cleaner sprayed directly on your cloth to wipe off the glass surface.
- Plan ahead and have a virtual destination in mind for the digital images you are going to save – are they going into a folder on your desktop, onto a CD, saved to a USB? Knowing how you want to organize and save your photos before you start scanning will save you plenty of headaches once you get the process going.
Preserving old photos means preserving memories, family history, and stories that can be shared for generations. Use the tips above to make high resolution copies of your old photos so they can be saved and shared for years to come.
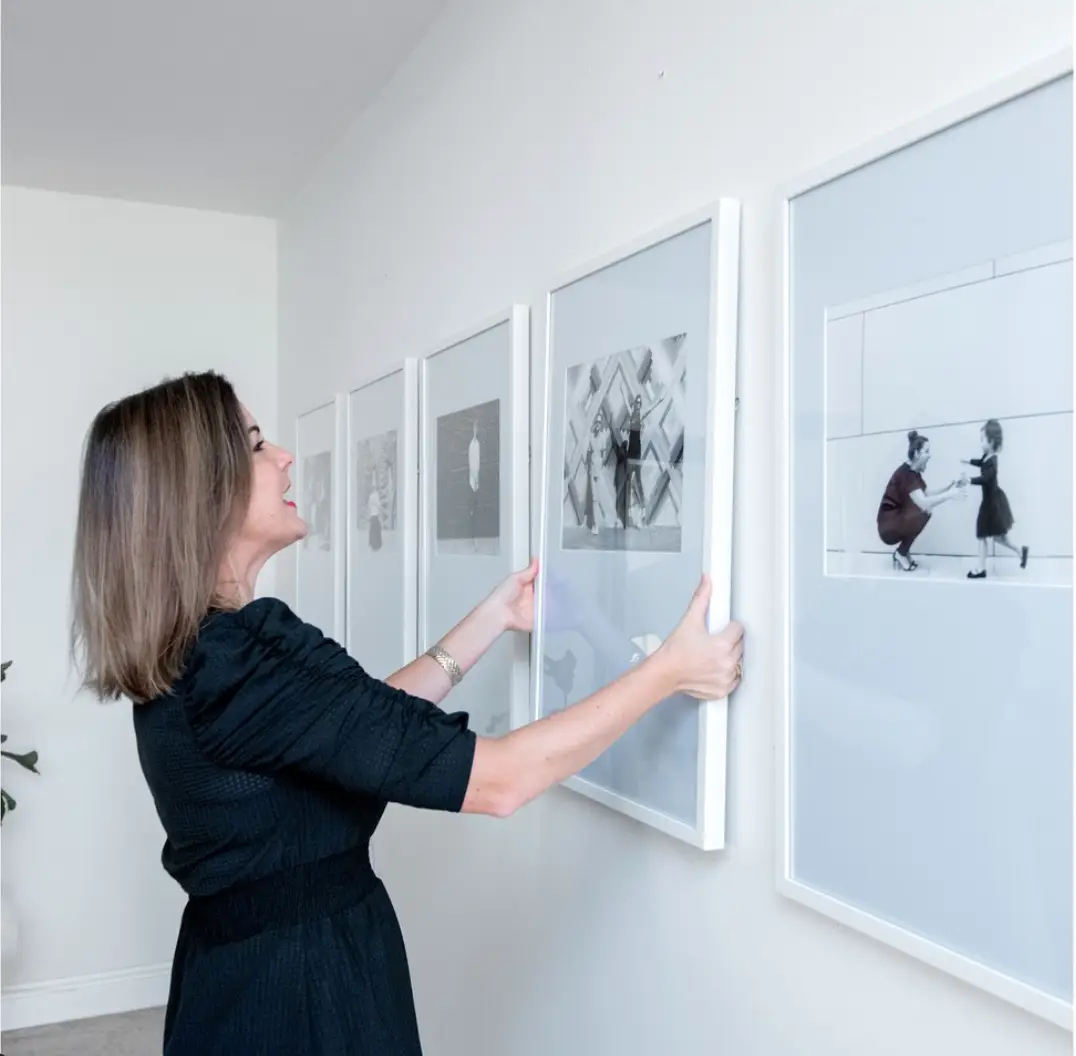
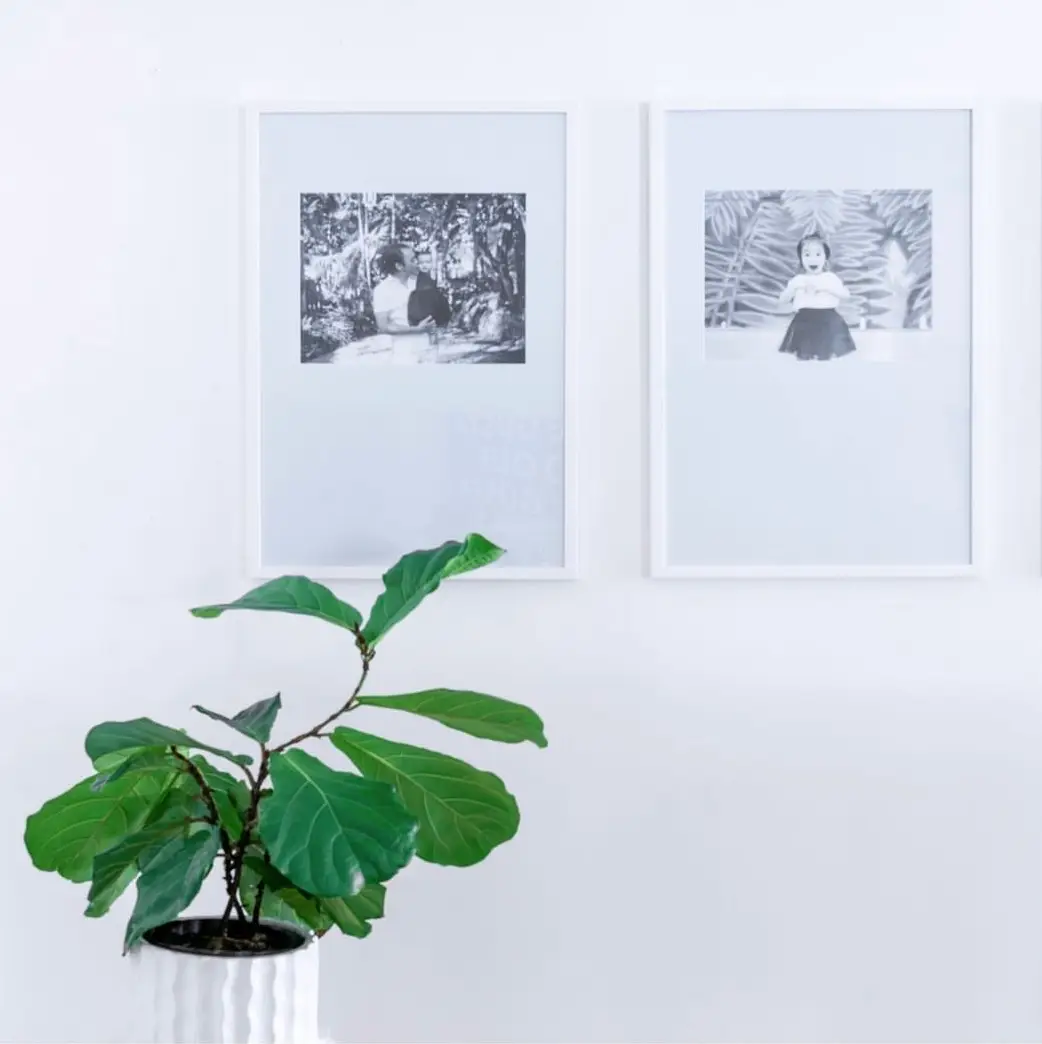
Final Step: Frame It!
Want to pair your vintage photo with the perfect custom frame? Check out these popular styles below.