It’s never been easier to make a style statement in your home than with a gallery wall. Whether it’s a collection of artwork, photos, mementos, or a mix of all three, a curated gallery wall provides a unique and powerful way to tell a story and exhibit your favorite pieces.
Getting Started
Have an idea for your gallery wall but not sure how to get started? Follow these three easy steps:
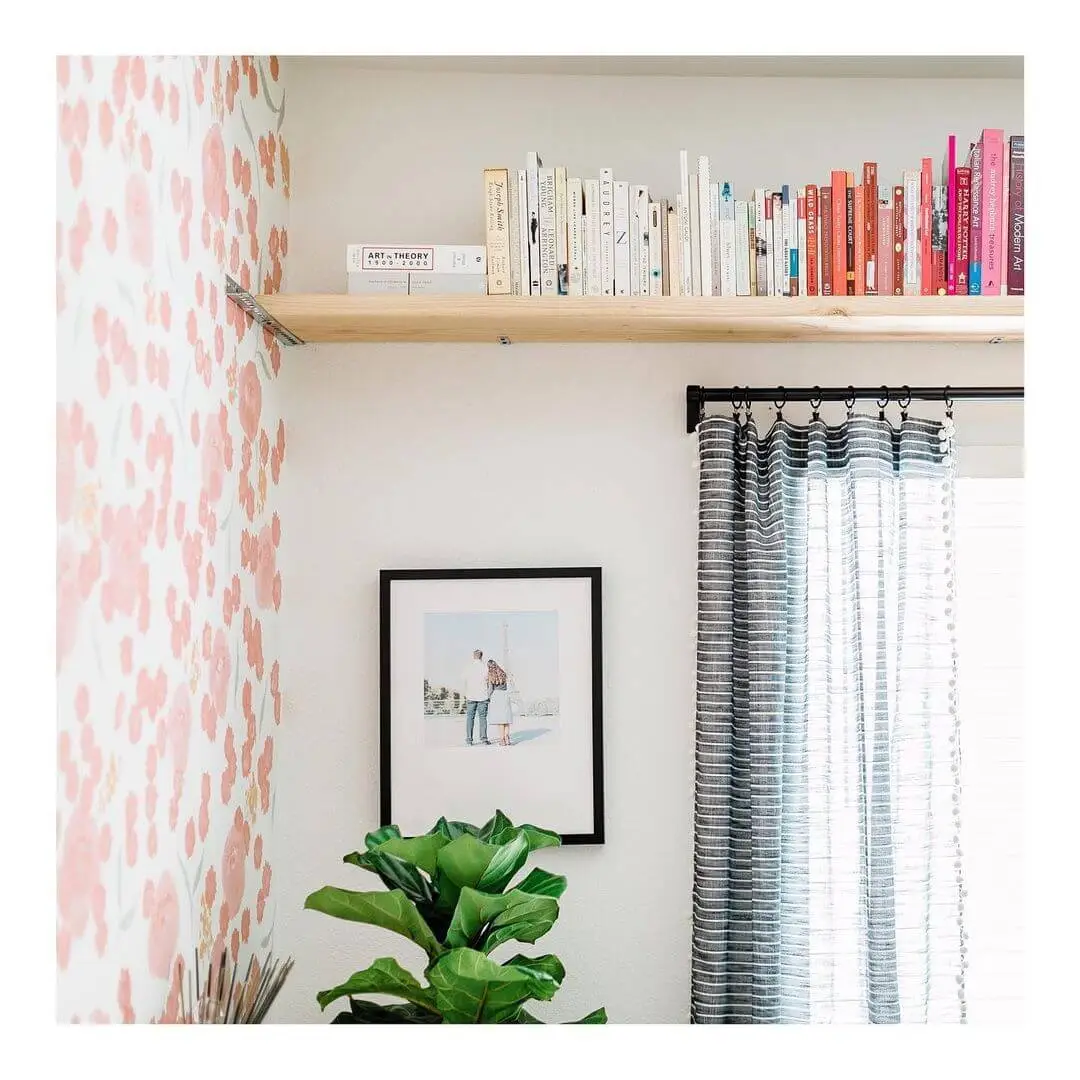
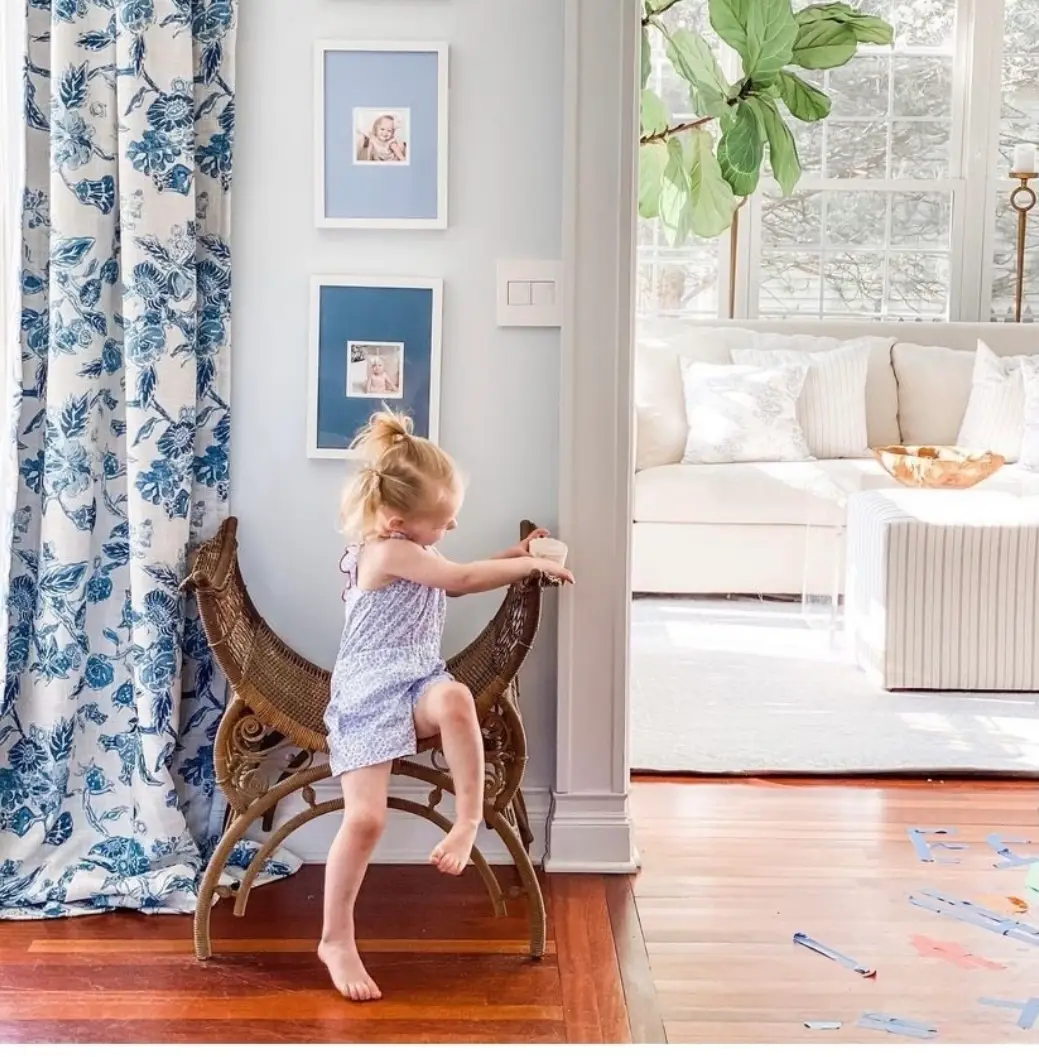
- Pinpoint the perfect space in your home. Narrow, wide, tall . . . no matter the size of your space in your bedroom, living room, dining room, you name it, you want your gallery wall to serve as a focal point, drawing the eye towards a beautiful and interesting display. Ideally, your wall will receive plenty of light (natural or artificial) and offer enough room for your pieces to each have 3 to 6 inches of space between them.
- Choose your pieces. Your gallery wall should emote your style, taste, and personality. While your collection of artwork may be thematic, for example, all pictures of nature or all black and white photos from your travels, it can also be more varied–a random mix of pieces without a central thread connecting them. No matter which works you choose, include both those which carry meaning for you as well as those that spark conversation.
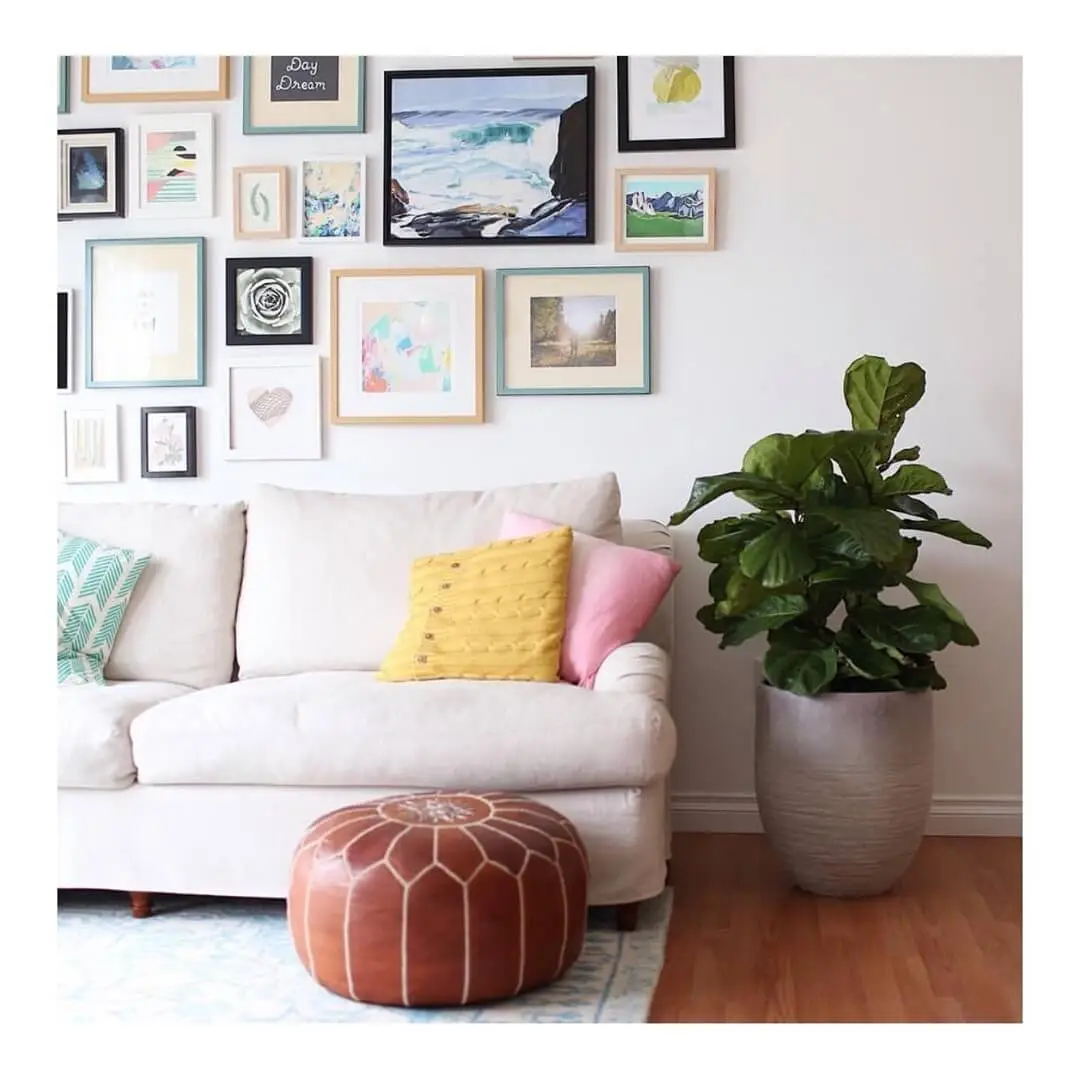
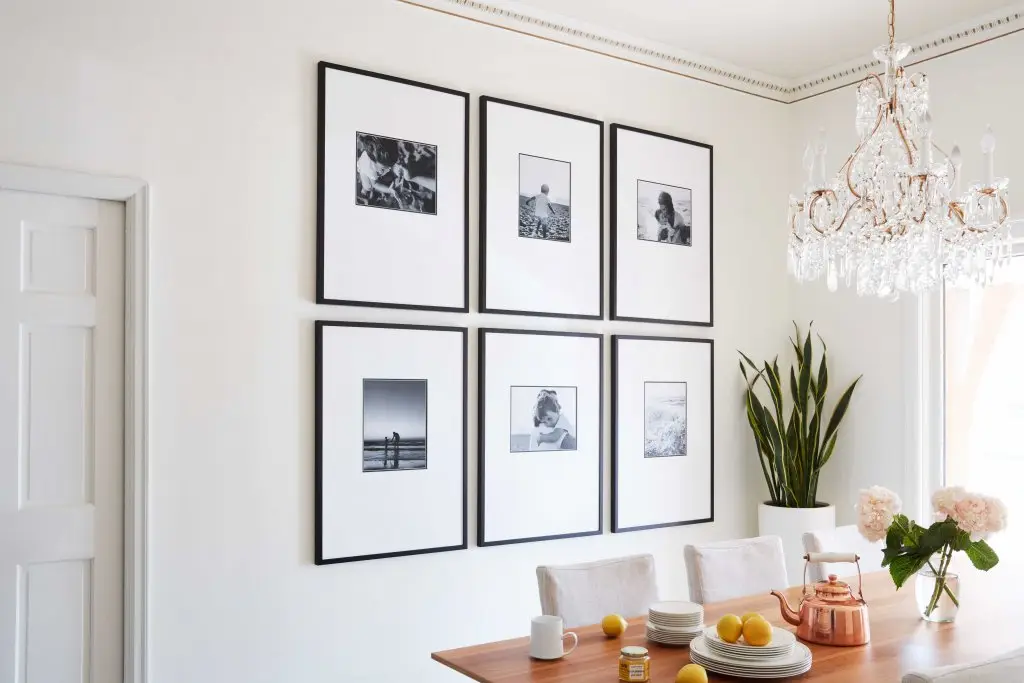
- Decide on your look. The wonderful thing about gallery walls is there is no “set” way to do them. You might go for a precise grid layout where frames perfectly align with each other in an orderly manner, or you may opt for a more eclectic feel with pieces in different frames and sizes. Keep these best practices in mind:
- Grid layout – achieve a more cohesive look and feel with an even grid layout comprised of pieces that are all the same size, different sized pieces with monochromed frames (same color), or different pieces with the same size frame (and varying mat thicknesses to help them fit).
- Eclectic layout – go for an artistic, fluid vibe with pieces in a more indiscriminate design that leaves room for future additions. Just remember to anchor your eclectic gallery display with a central piece from which to work off.
You can find rich inspiration for your gallery wall on our Pinterest board and in our Design Resources.
The Easiest Way to Hang a Gallery Wall in Five Steps
Like with most things in life, the 80/20 rule applies to hanging a gallery wall. You will spend 80% of your time prepping your framed artwork and the wall they will live on, and only 20% (or less) actually hanging them. A little preparation goes a long way, so don’t skip the early stages of layout and templating – it will save you plenty of headaches down the line.
Create your dream gallery wall with our quick and easy step-by-step guide.
Step 1: Stage your gallery wall off the wall.
Layout your frames and gallery wall pieces on the floor in front of the wall on which they will live. Adjust the arrangement to play around with spacing, layout, and balance. If you are building an eclectic design, start with a large piece that makes a bold statement and work out from there. Don’t necessarily place your largest pieces in the middle of the display though–you want to draw the viewer’s eye across the entire gallery.
Step 2: Create paper templates and mark nail holes.
Once you have finalized your layout, take newspaper or brown paper and trace each piece, creating “templates” which you can attach to the wall for final design review. Write the name of your piece or short description on its corresponding paper template and mark where the nail hole will go.
Pro tip: Some frames may have hanging wires on the back, while others feature a sawtooth hanger or corner brackets. Use a measuring tape to mark exactly on your paper templates where the nail hole will go depending on the hanging hardware it requires, i.e., a picture hook vs. a single nail.
Step 3: Place paper templates on the wall and hammer in your nails.
Firstly, find the centerline of your wall. Measure the width of the entire hanging area available to you, find its center, and then mark around eye level, roughly 57-61 inches up from the floor. Arrange your paper templates on the wall per your chosen layout working out from the centerline so things feel balanced. Hammer your nails into the wall according to the marks on your paper templates.
Step 4: Hang your pieces.
One by one, remove the paper templates from their nails in the wall and replace them with each individual gallery piece. Once you have finished placing each frame, step back and see which frames need leveling. Adjust your frames so none appear to tip or slant. Pro tip: Use a level app on your smartphone to gently test each piece for levelness.
Step 5: Sit back, relax, and admire your stunning gallery wall!
Final Thoughts
You don’t have to be an interior designer to put together a coordinated and visually appealing display of your favorite framed pieces. If you’re wondering how to hang a gallery wall of pictures and artwork, follow our step-by-step guide above; and don’t miss our Quick Tips for selecting the right custom frames and mats for your favorite artwork too!
Looking for the perfect custom frames for your gallery wall?