So you’re thinking about hanging a gallery wall, but don’t totally know where to start. Don’t worry, we’ve been there. Because of this, we’ve gone through lots of trial and error to figure out the best way to display a gallery wall and we put together our best tips for you! Read on to learn why gallery walls are a great option, tips for gallery walls, and (most importantly) how to successfully hang a gallery wall.
Why to Choose a Gallery Wall
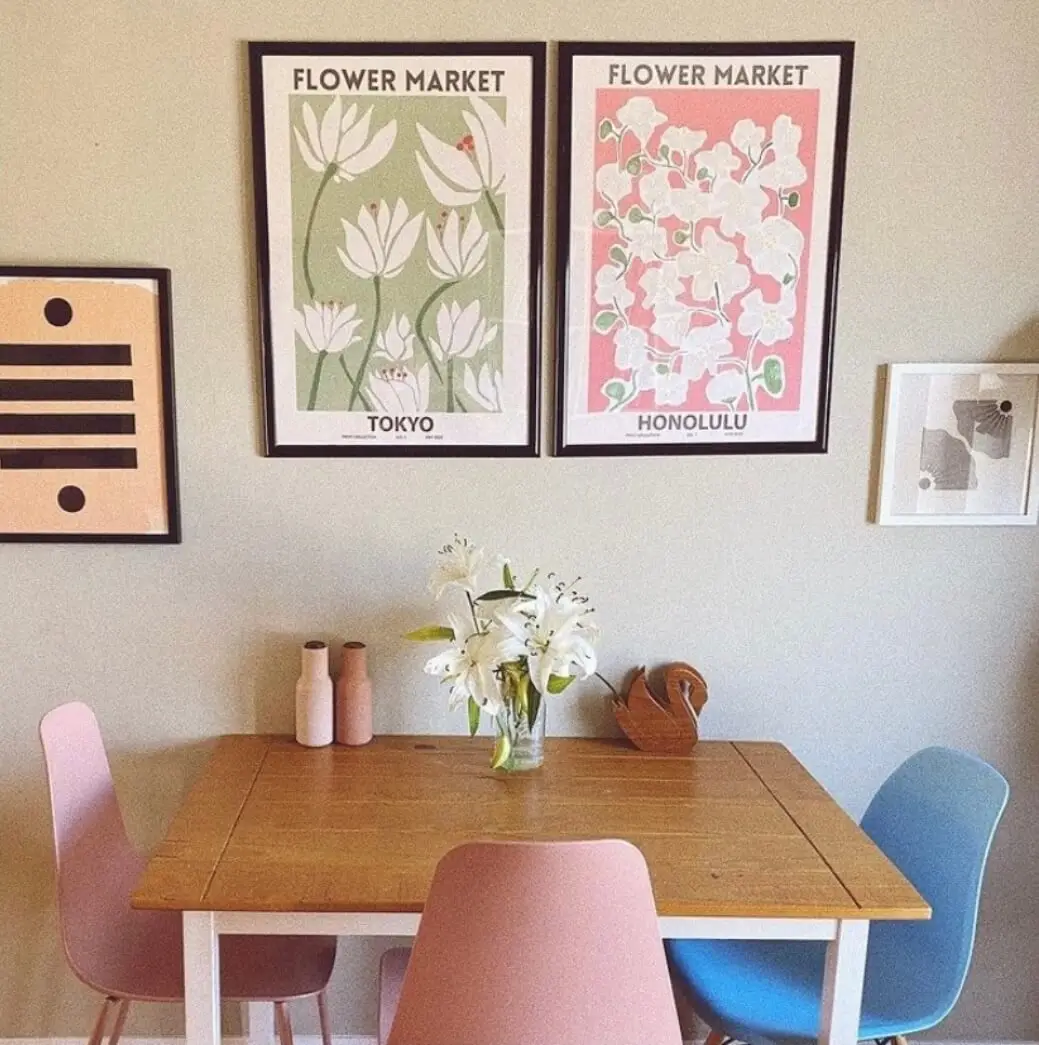
First and foremost, gallery walls are a great decor option for when you have a large wall space that needs covering. Sometimes it’s tough to find an art piece large enough and when you do, it can be expensive! Gallery walls give you so much versatility and can be much more affordable than finding a large art piece. Additionally, they are the perfect way to display different art you’ve collected, along with family photos, mementos, and more. Gallery walls add character and personality to any space since they are a combination of a bunch of different little pieces of you. Because of this, they are a great conversation piece and give you the opportunity to explain every little detail (if you desire)!
Tips for Gallery Walls
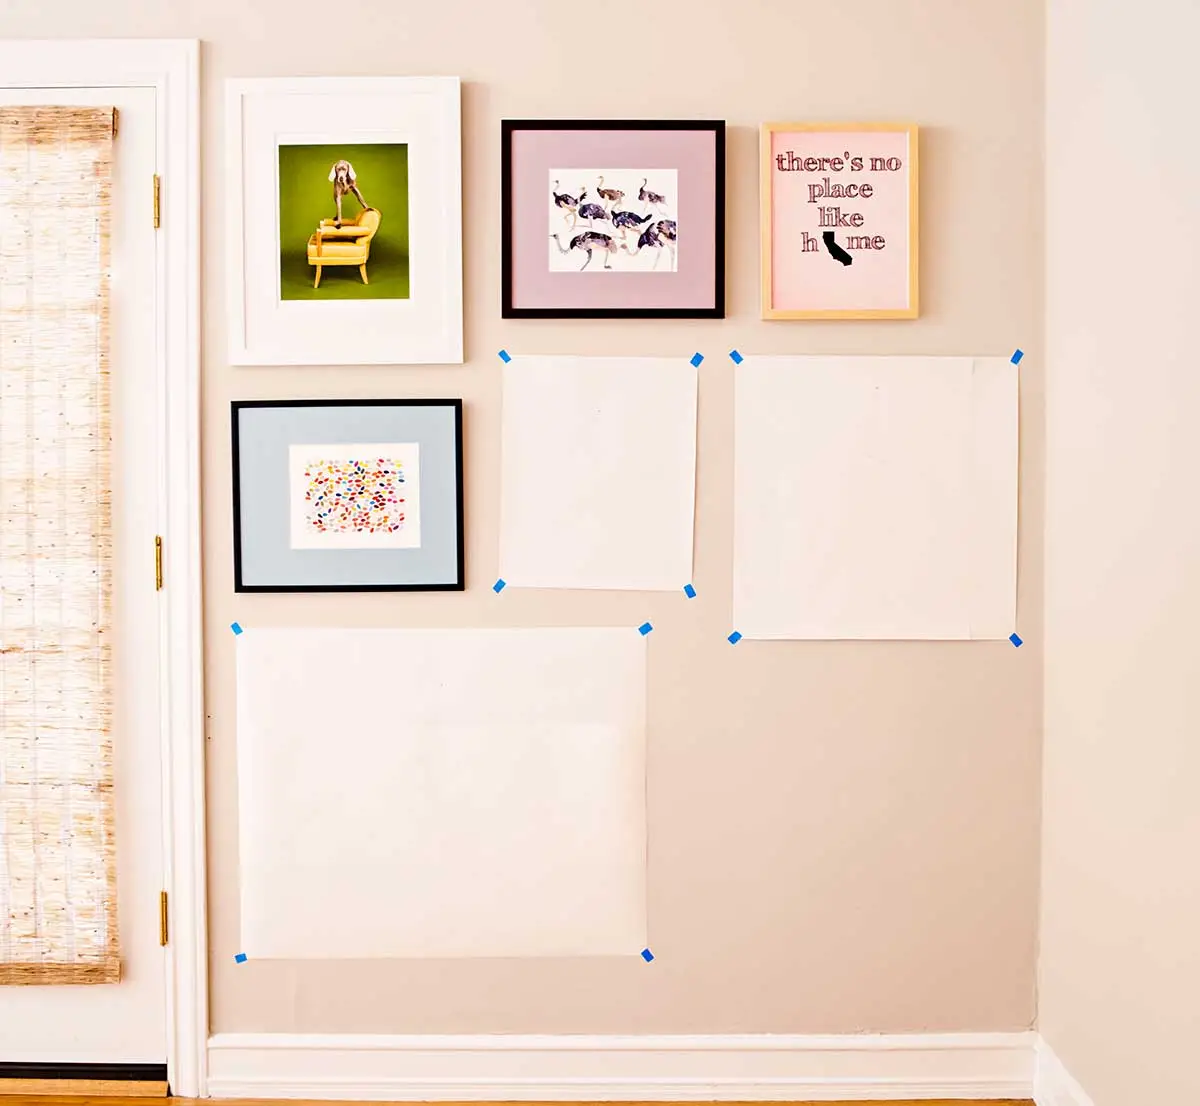
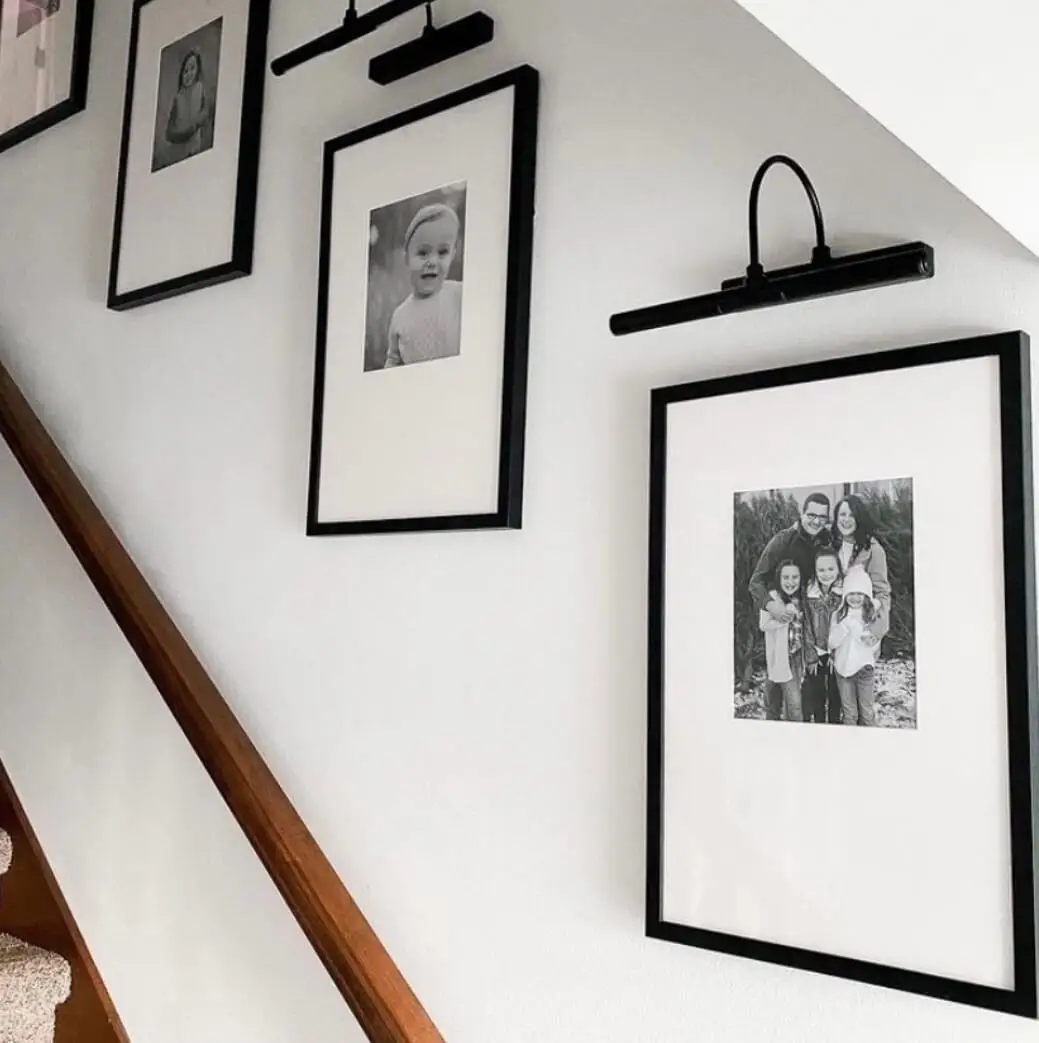
When putting together your gallery wall, think about it as one single art piece, instead of multiple little ones. Your gallery wall should be cohesive, whether your arrangement is big, small, wide, or narrow.
Make sure to keep your spacing consistent between each frame. If you choose to have your frames 2 inches apart, make sure that stays the same throughout the entire gallery wall.
It’s easy to lose perspective when you’re up close and personal building your gallery wall. Don’t forget to take a step back from time to time to see your piece in a new light. If possible, it’s always nice to have someone else with you to give you a fresh opinion or new ideas when putting everything together.
If you have the patience, get digital. Take a photo of your wall and each frame, upload them to your computer, crop the images, and digitally place each frame on the wall to play with the gallery wall layout. Once you find what you like, print it out or save it so you have a little map when doing it for real. The easiest way to do this is by opening up a Powerpoint slide and uploading all images there. Because let’s be honest, we’re not all Adobe Illustrator pros! You are able to crop the images and move them around easily, giving you a little preview of what your wall might look like.

How to Hang Your Gallery Wall
Step 1: Find the perfect spot
Perhaps it is over a piece of furniture, centered on an accent wall, or asymmetrically aligned with a shelf. Wherever it is, make sure there is enough space for your gallery wall before you start hammering!
Step 2: Mark & measure it out
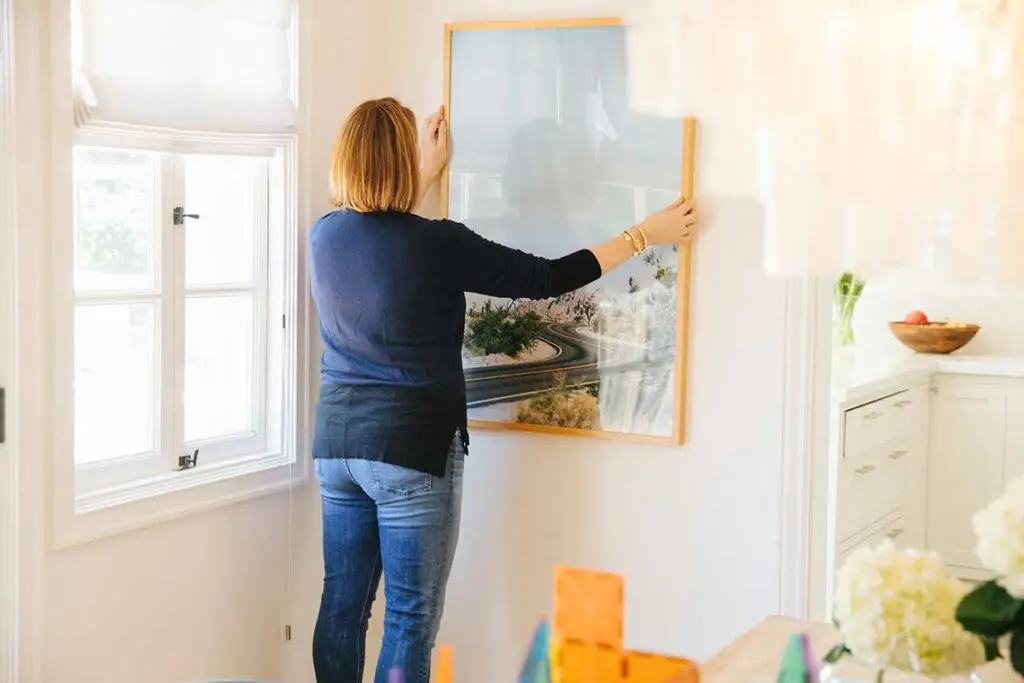
Hold your custom frame up to the wall where you envision it living. Make a 90-degree mark on the wall around the top two corners of the frame in light pencil (or use blue painter’s tape). Quickly measure the distance between the angles and make a mark in the very center. Then take your tape measure and measure the distance from the hanging wire (held taut) on the back of your frame to the top of the frame.
Go back to your center mark on the wall and make a second mark further down that matches the distance you just measured (minus 1 inch for the height of the picture hanging hook). This point is where the wire on the back of your custom frame will rest on the picture hanger. Repeat this for all of your frames.
Step 3: Add nails to the wall
Gently hammer the nail and picture hanging hook provided with your custom frame into the wall. Do this for all frames. If your piece is on the wider side, you may want to use 2 nails spread symmetrically apart from the center. A good rule of thumb is to keep your frames 2-3 inches apart from each other so the placement looks purposeful and uniform.
Step 4: Get happy
You did it! It’s as easy as that. The best part about gallery walls is you can always update a single piece or pieces to change the vibe in a subtle way, OR add more frames to grow your gallery wall. We hope you enjoy!


Leave a Reply